Introduction
This is my problem. I have a photo (portrait.png).
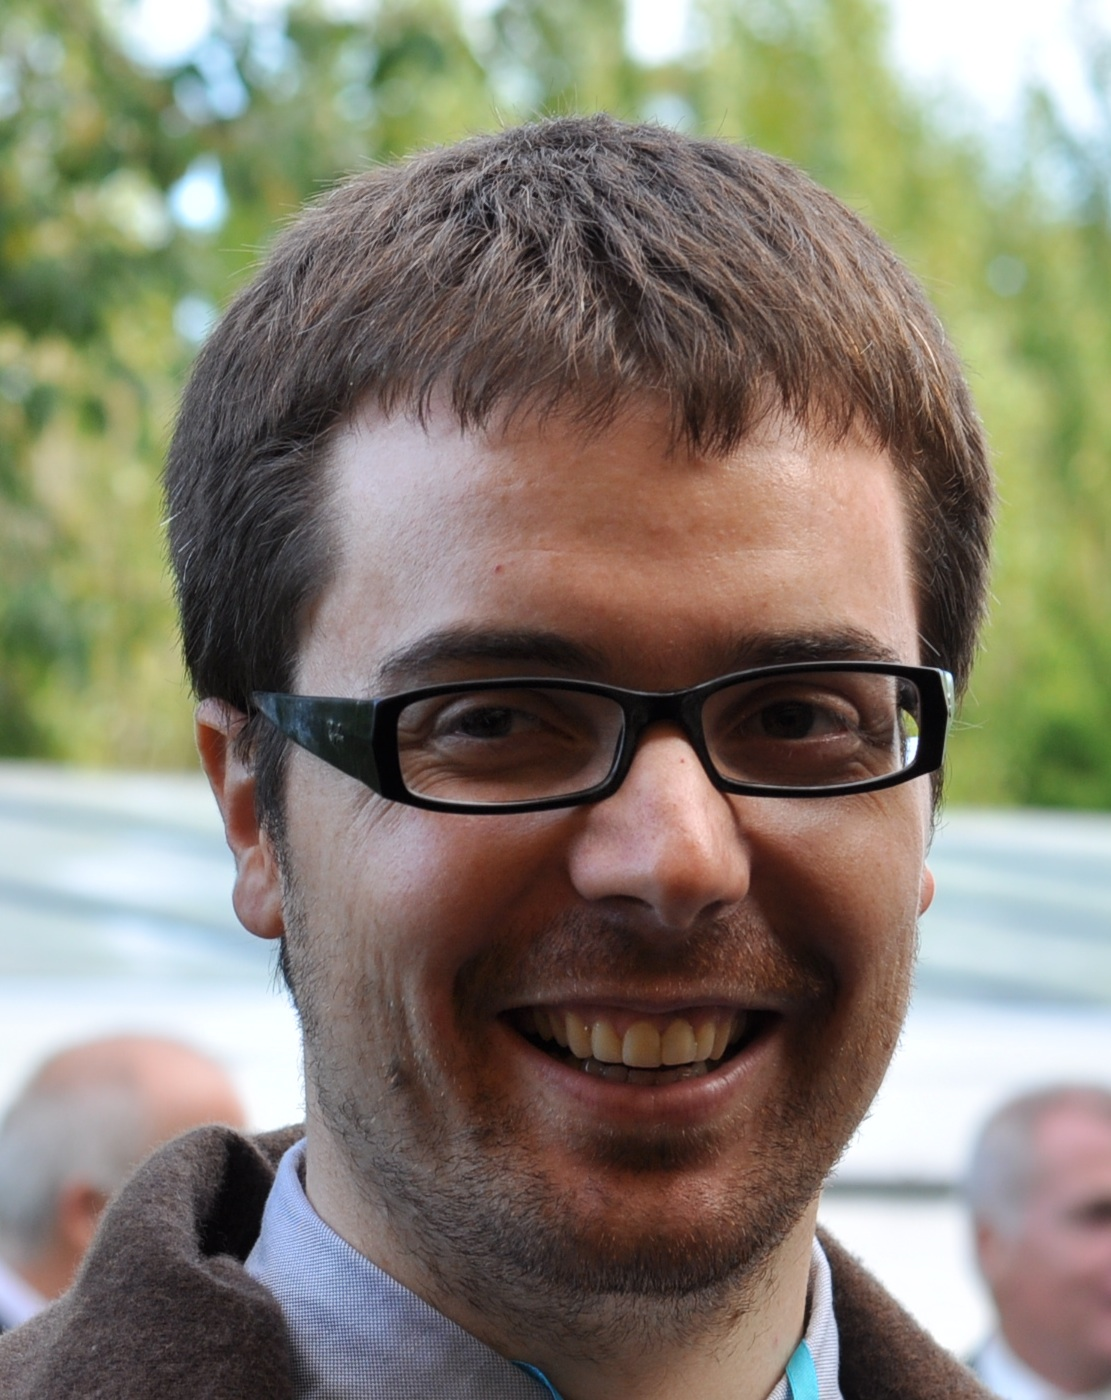
From this photo, I need a squared image. However, taking the largest possible croping, this is what I can get.
Of course, I don’t want the face to be cropped like this. The following article is presented one possible solution to get something like this picture.
In this article, we will only use ImageMagick.
Explain the procedure
To create a squared version of the portrait, I will extend the original picture by adding borders on left and right. Of course, I don’t want simple white borders so I will fill these borders; to do this, I will blur the current border of the picture (mainly green) with a blurred effect.
However, if I keep the existing picture as it is and add fuzzy colors in the borders, I will see the boundary between the center part of the image (containing the face) and the borders (only made of blurred colors). To avoid this virtual border, we will create borders with an increasing blurred effect as we go from the center of the image to the left and right borders. Of course, not exactly from the center since we need to keep the very center of the image (the one which contains the face) not blurred.
To process this blur effect, we will use a mask which will give the intensity of the blur for each pixel of the image.
Creating a mask
The mask will be a black and white image, white telling us that we want the maximum blur effect for this pixel and black telling us that we do not want any blur on this pixel. Basically, we want black on the important part of the visage then a black to white gradient as we go to the left and right borders.
Determine the parameters of the gradient
We will build it step by step. First, we need to define the size of our image
to define the size of the gradients. identify will do the job.
identify portrait.pngWhich results in the following informations.
portrait.png PNG 1111x1400 1111x1400+0+0 8-bit sRGB 1.854MB 0.000u 0:00.000We will make a 1400x1400 squared image. This means that we will add 289
pixels on the left/right of the image (the half of it, 144.5 pixels, for each side).
To add borders , we can use the following method.
|
Note
|
About the transparency
We will add transparent borders for the display but for the purpose of the mask, it is not required since all we be erased with black and white. All transparent parts in the image have been displayed as a checkerboard pattern in order to clearly identify it. The method is the following: |
convert portrait.png \
	-bordercolor none \
	-border 144.5x0 \
	portrait.borders.png
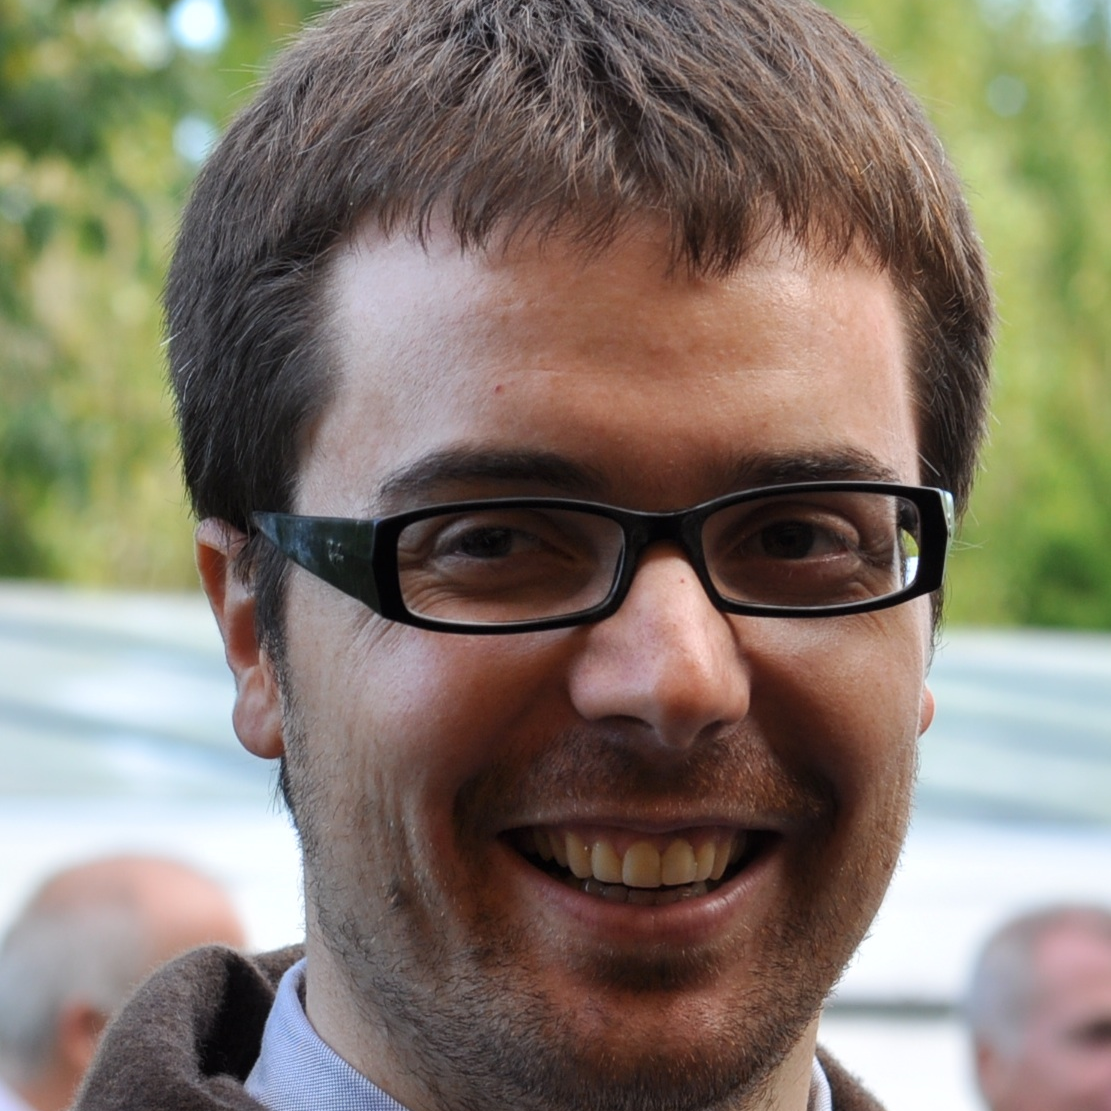
Then we need to define the limit where we can begin the gradient. I choose the 250 pixels on each side as in the following image.
Building a one side gradient
I can now begin to create the gradient. I will create the right gradient first.
convert \
	-size 1400x1400 \
	xc: \
	-sparse-color Barycentric '1150.0,0 black %w,0 white' \
	mask.gradient.right.png
Then for the left gradient, we can just rotate it.
convert \
	mask.gradient.right.png \
	-rotate 180 \
	mask.gradient.left.png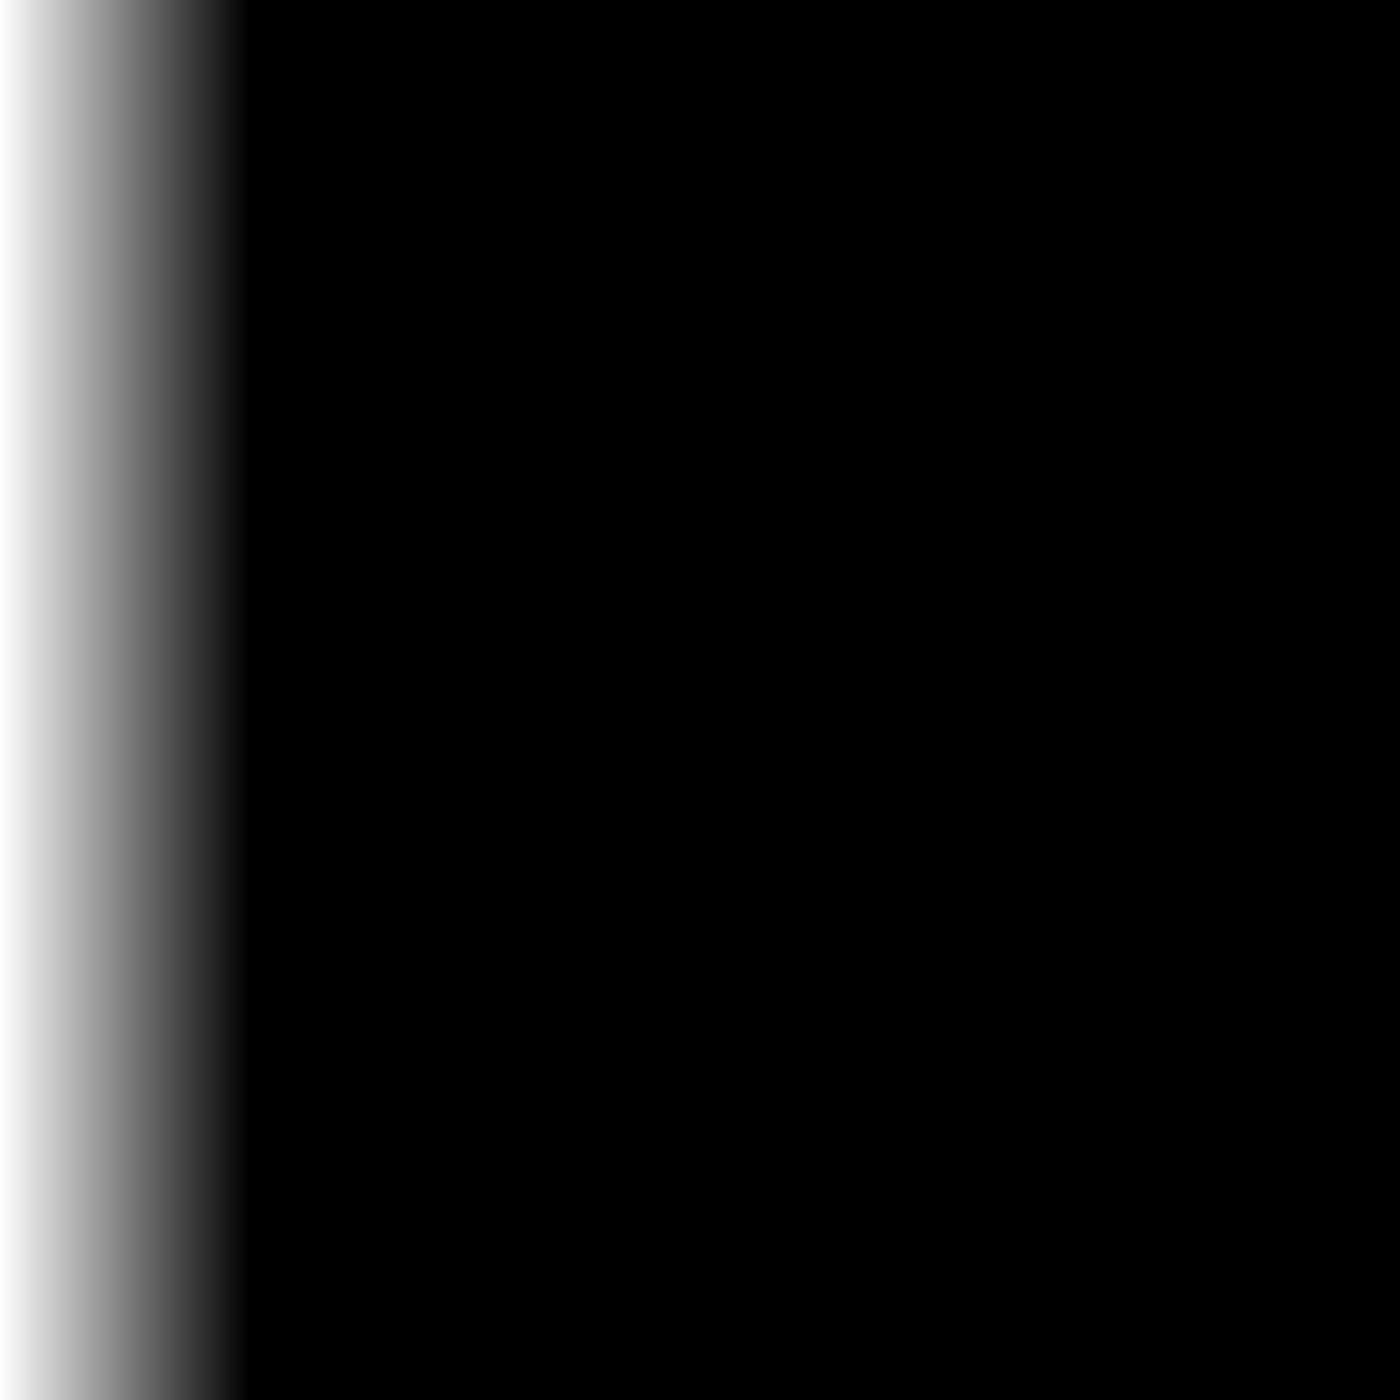
Then to obtain the final mask, you combine the two parts.
convert \
	mask.gradient.right.png \
	mask.gradient.left.png \
	-compose lighten \
	-composite \
	mask.png
Fill the image
We now have the mask, we will use it on our image to produce the desired result.
Of course, we will apply it on the squared version of our image, the previous
portrait.borders.png file. To blur the image considering the mask, we will
use the blur option from -compose. This option can take an argument, the
same kind of argument that the -blur option takes (the intensity of the
blurred effect). In our case, the intensity should be enough high to reach the
borders of the image. Remember, the blur effect is an operation that take, for
each pixel, an average color of all the pixels around; what I mean by the
intensity of the blur effect is the diameter (in number of pixel) of the
circle where we do this average.
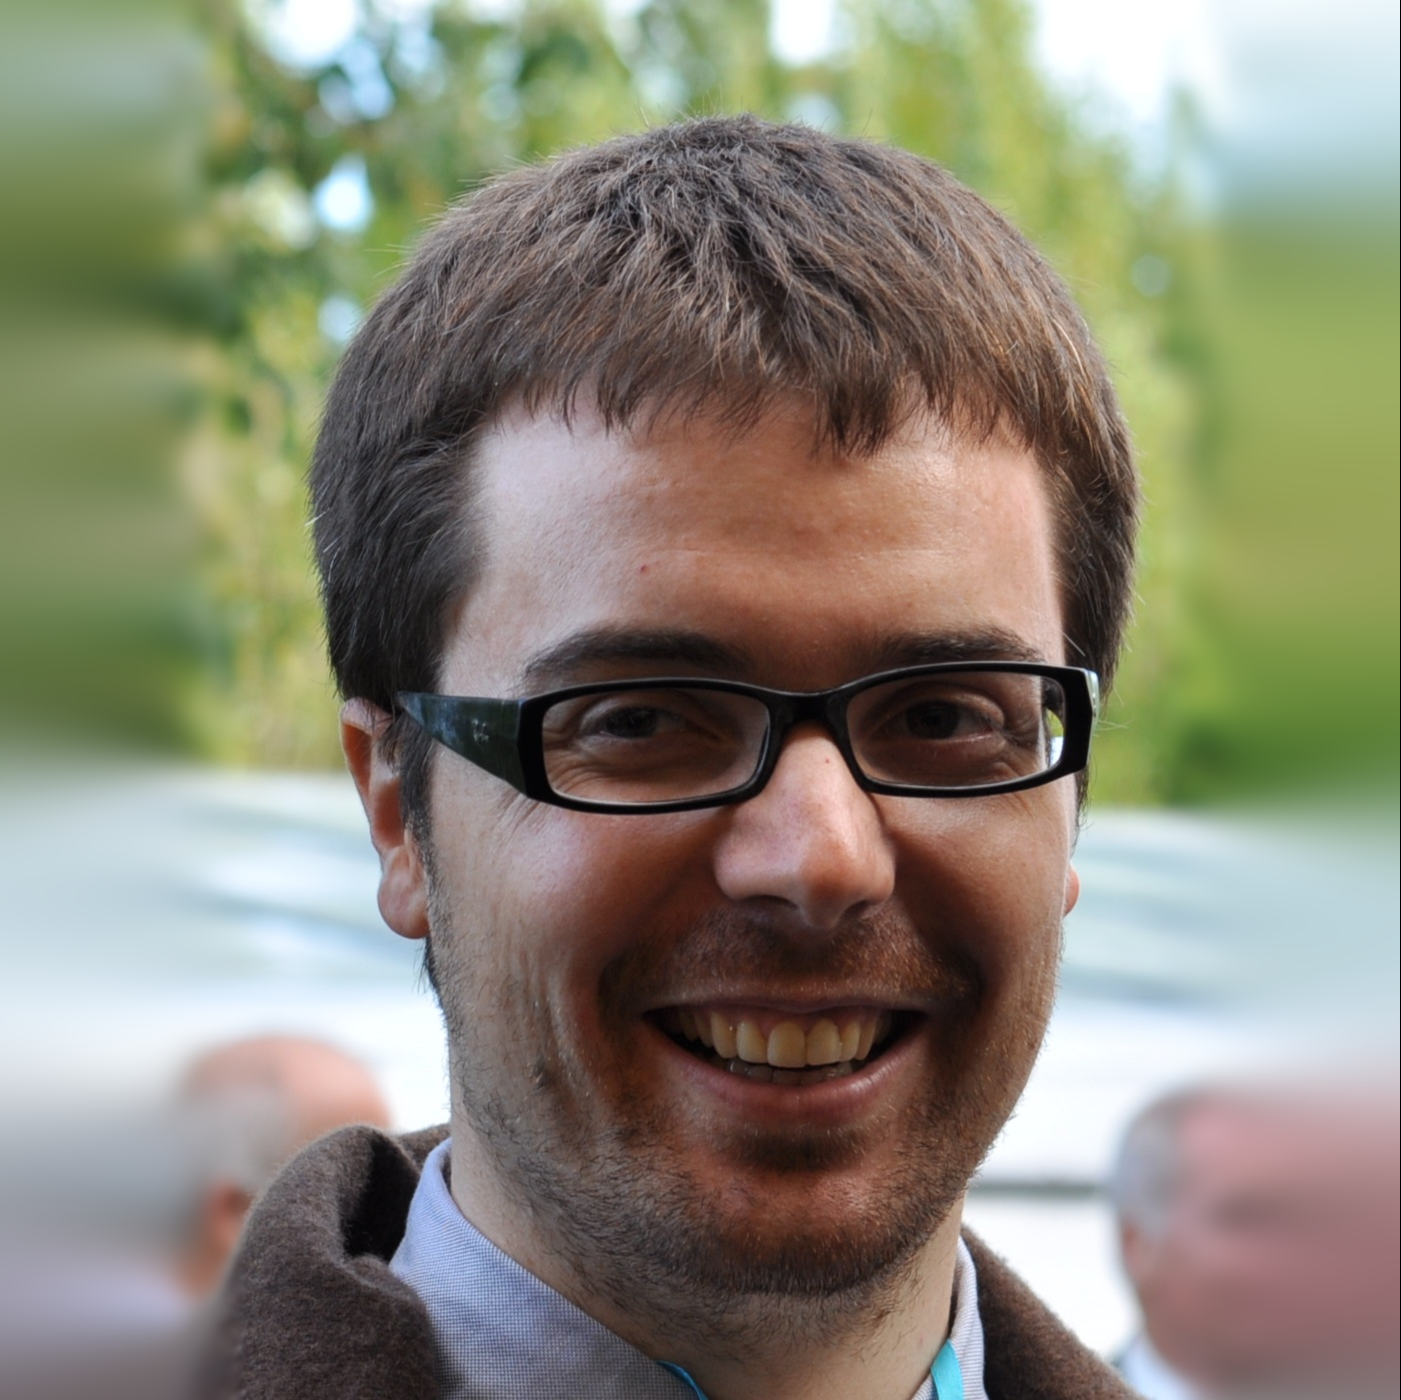
Let’s try with a arbitrary value: 24.
convert \
	portrait.borders.png \
	mask.png \
	-compose blur \
	-set option:compose:args 24 \
	-composite \
	portrait.blur24.png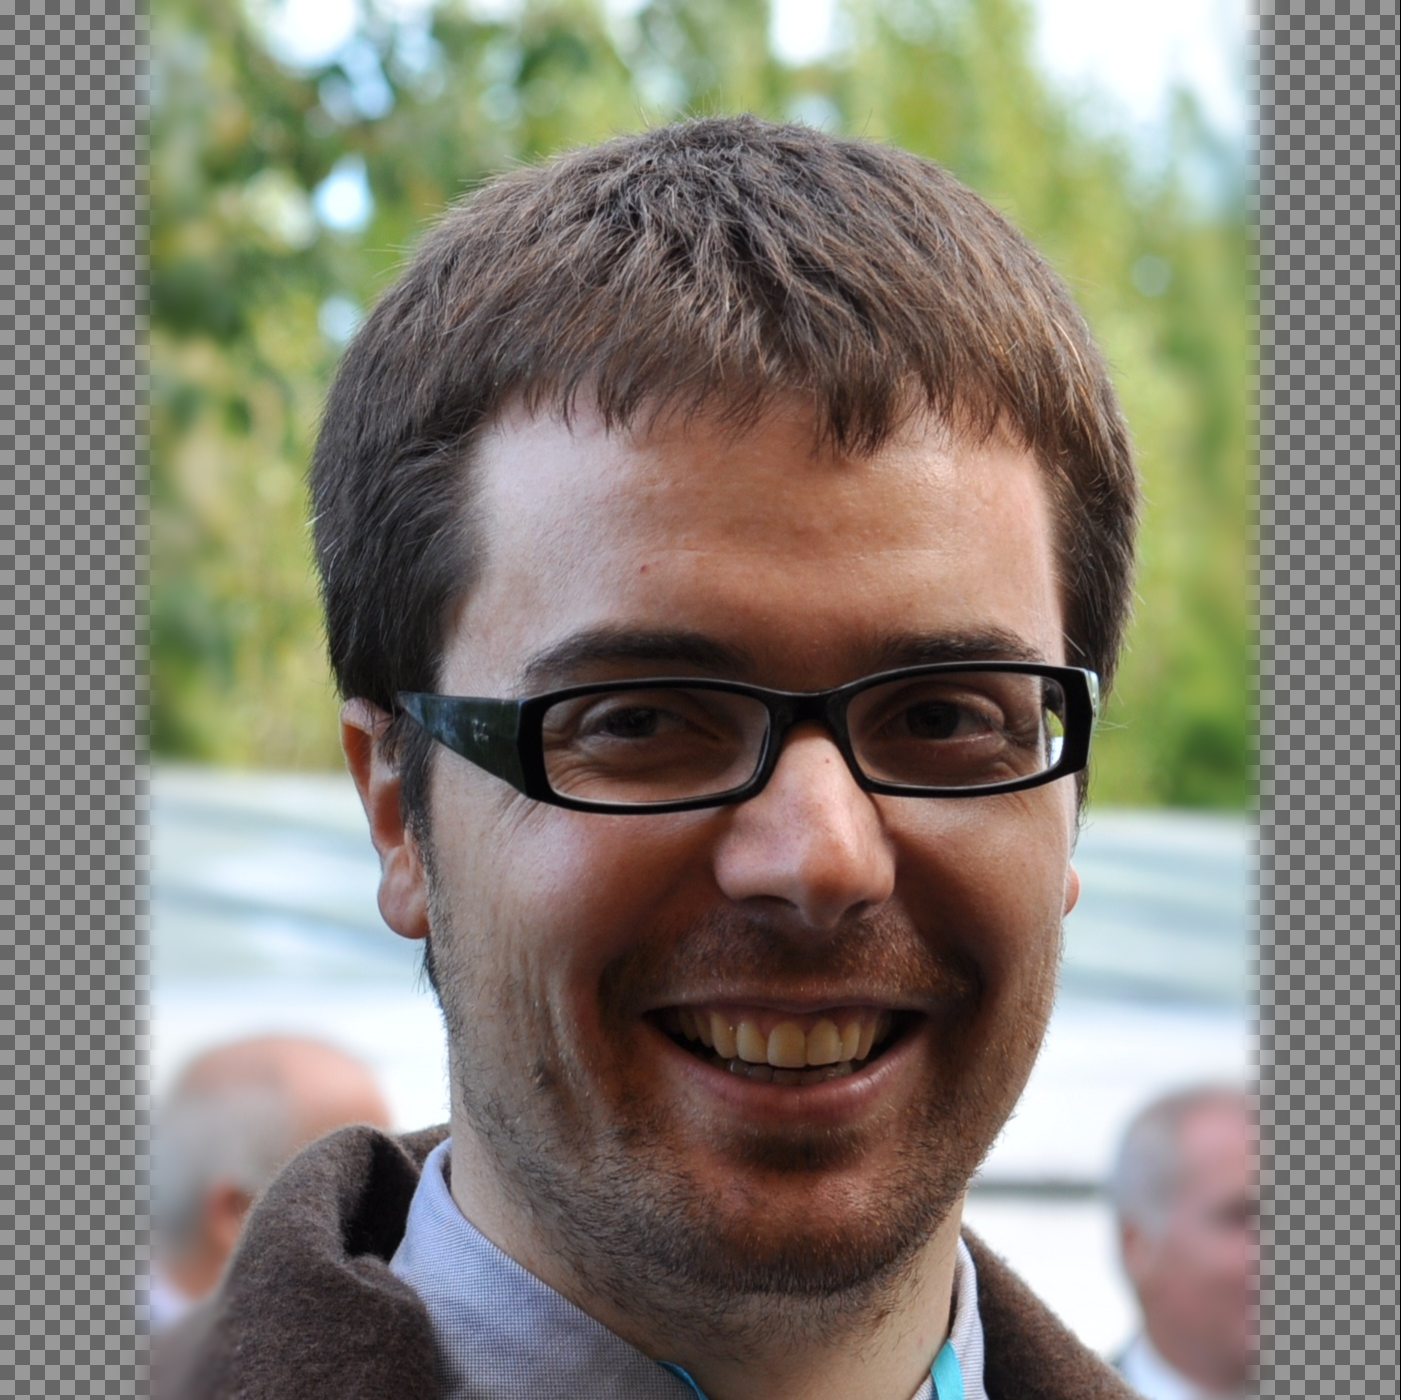
It seems that it’s not sufficient, and it already took a long time to generate the image… Wait! We forget something. It’s an average of colors but we have only transparent colors on the borders. So there is probably pixels in this image that have a blurred colored corresponding to the image but with a majority of transparent color: we do not see it. To only keep the RGB color (which is the meaningfull information in our picture), we will just remove the transparency in the image (deactivate the alpha channel).
convert \
	portrait.blur24.png \
	-alpha off \
	portrait.blur24.rgb.png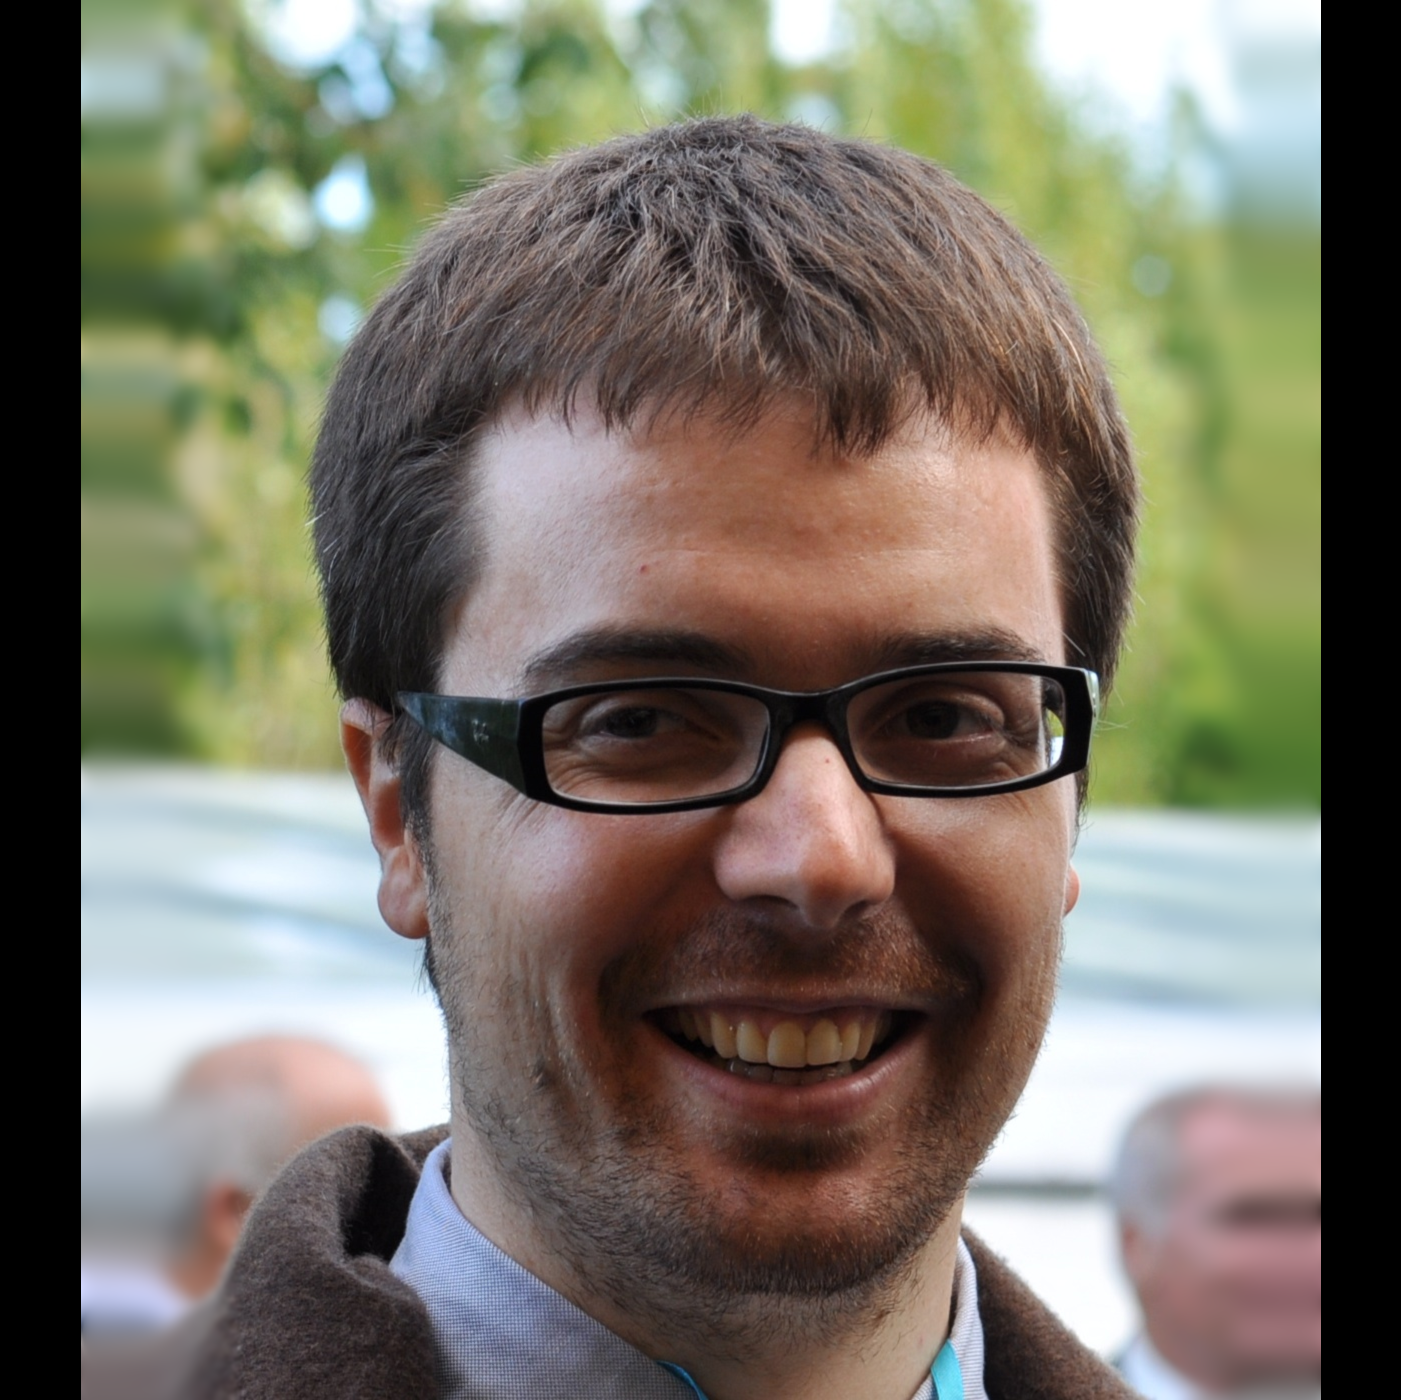
There is clearly a problem. The size of our blurred effect was so small that the pixels on the extrems didn’t beneficied of any color. We need to increase the value of our argument. This time, we will apply the blurred effect and remove the transparency in one operation.
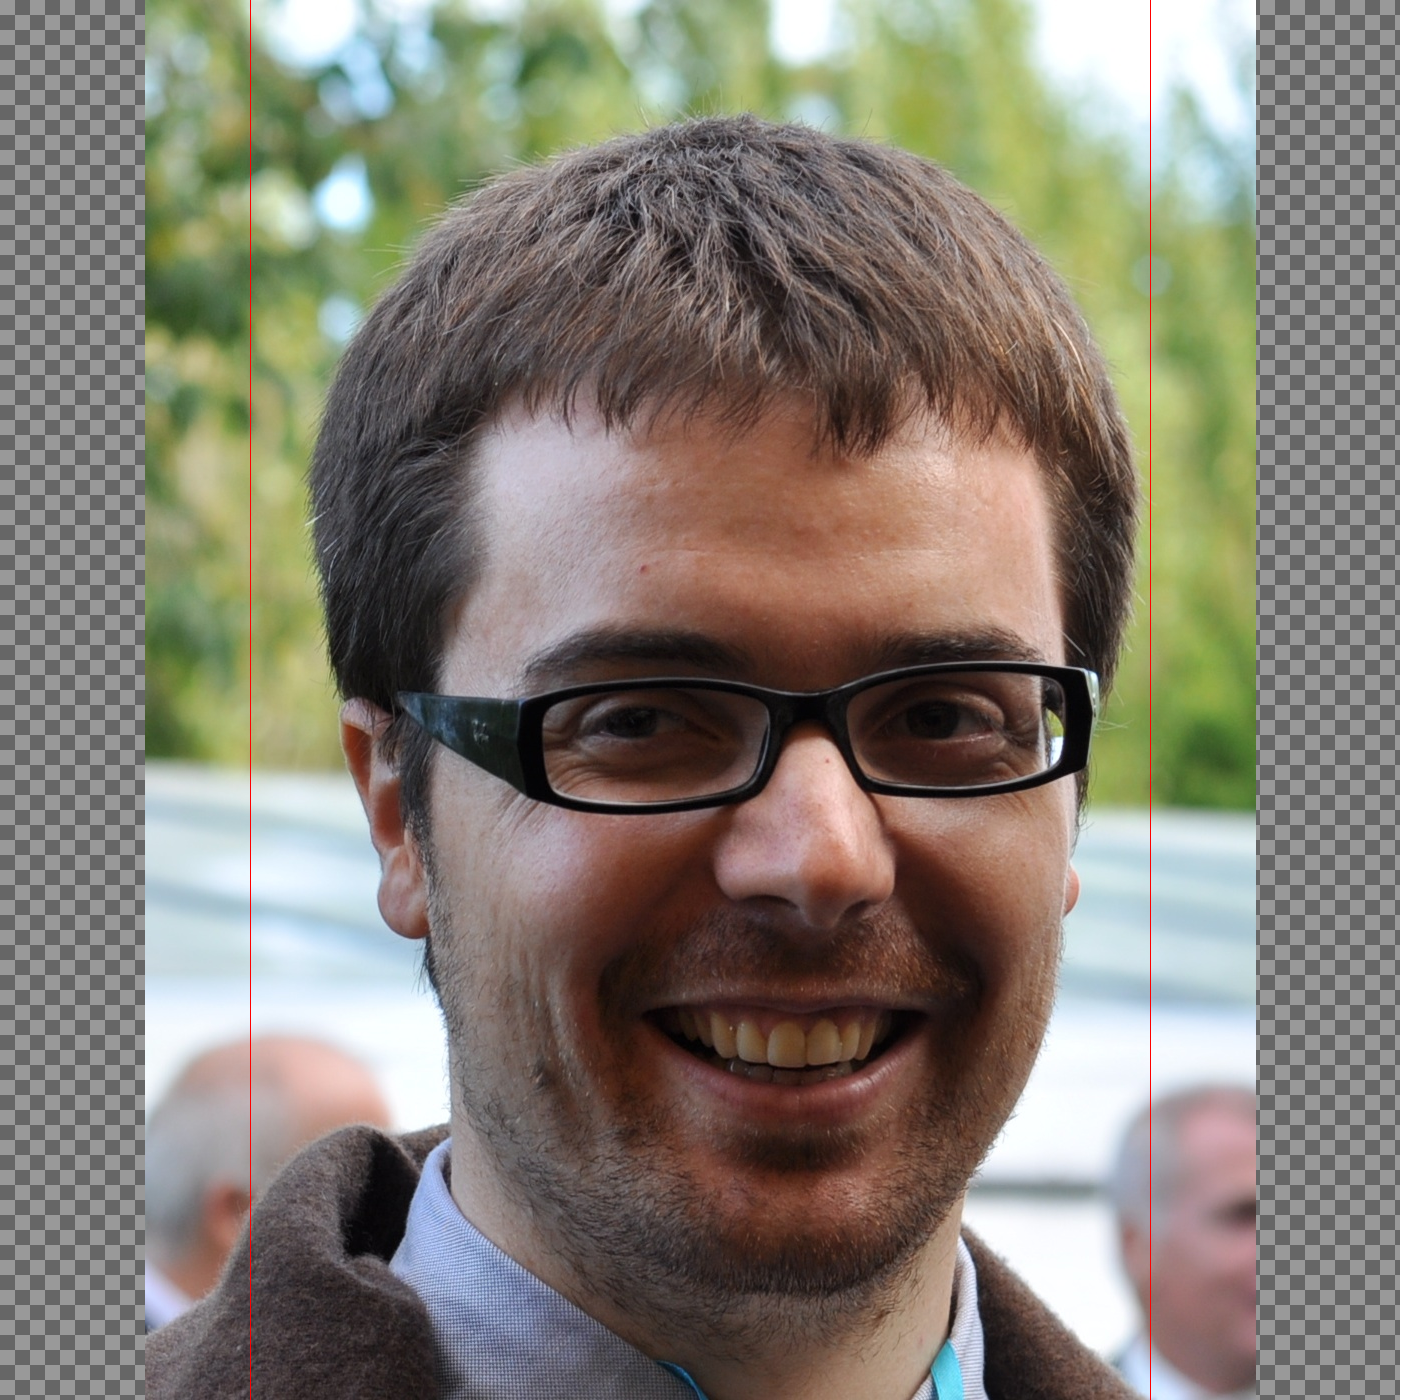
convert \
	portrait.borders.png \
	mask.png \
	-compose blur \
	-set option:compose:args 48 \
	-composite \
	-alpha on \
	portrait.squared.png
We finally have it, the squared portrait.
References
-
ImageMagick website, the only good reference to use ImageMagick